FLUX.2 is creating a lot of buzz lately, and for good reason. It’s a fast, powerful image generation model that’s not only easy to use but also simple to fine-tune, producing stunning visuals.
Last week, we shared a guide on fine-tuning FLUX.2 for faces, using a completely web-based workflow to create a customized FLUX.2 model without writing any code.
We’ve received feedback from some users who want to fine-tune FLUX.2 using an API, so this week, we’re back with another tutorial that shows you exactly how to do that.
How to fine-tune FLUX.2 – Guide
In this guide, you’ll learn how to create and run your own fine-tuned FLUX.2 models programmatically using Replicate’s HTTP API.
Step 0: Prerequisites
To get started, you’ll need the following:
- A Replicate account
- A set of training images
- A small budget of 2-3 US dollars for training costs
- cURL, the classic command-line tool for making HTTP requests
Step 1: Gather Your Training Images
Begin by collecting a few images of yourself.
While you can fine-tune FLUX.2 with as few as two images, it’s recommended to use at least 10 for optimal results. The more images you include, the better the outcome, although this may also increase the training time.
Consider these points when selecting your images:
- Supported formats: WebP, JPG, and PNG
- Resolution: 1024×1024 or higher if possible
- Filenames: You can name your files anything you like
- Aspect Ratios: Images can have different aspect ratios; they don’t all need to be square, landscape, or portrait
- Minimum: Aim for at least 10 images
Once you’ve gathered your images, compress them into a zip file. Assuming your images are in a folder named data, use this command to create a data.zip file:
zip -r data.zip dataStep 2: Set an API Token in Your Environment
To interact with the Replicate API, you’ll need an API token.
Visit replicate.com/account/api-tokens to generate a new API token and copy it to your clipboard.

Set the API token in your environment by running the following command in your terminal:
export REPLICATE_API_TOKEN="r8_..."Tip:
If you plan to make frequent API requests, consider adding the
REPLICATE_API_TOKENto your shell profile or dotfiles, so you don’t need to re-enter it each time you open a new terminal window.
Step 3: Create the Destination Model
Next, create an empty model on Replicate where your trained model will be stored. Once training is complete, the model will be pushed as a new version.
Models can be created under your personal account or within an organization if you need to share access.
You can create models using the Replicate web UI, CLI, or by making a cURL request to the models.create API endpoint.
Run the following command to create your model, replacing your-username and your-model-name with your own values:
curl -s -X POST \
  -H "Authorization: Bearer $REPLICATE_API_TOKEN" \
  -H 'Content-Type: application/json' \
  -d '{"owner": "your-username", "name": "your-model-name", "description": "An example model", "visibility": "public", "hardware": "gpu-a40-large"}' \
  https://api.replicate.com/v1/models
Step 4: Upload Your Training Data
Upload your zip file to a publicly accessible location on the internet, such as an S3 bucket or GitHub Pages.
Alternatively, you can use Replicate’s Files API to upload your training data. Here’s how to do it using cURL, assuming your training data file is named data.zip:
curl -s -X POST "https://api.replicate.com/v1/files" \
  -H "Authorization: Bearer $REPLICATE_API_TOKEN" \
  -H "Content-Type: multipart/form-data" \
  -F "content=@data.zip;type=application/zip;filename=data.zip"
The output will be a JSON response containing the URL of the uploaded file. Copy the URL that starts with https://api.replicate.com/v1... to your clipboard. You’ll need this in the next step.
Tip: If you have the jq command-line JSON processor installed, you can upload the file and extract the URL in one step:
curl -s -X POST "https://api.replicate.com/v1/files" \
  -H "Authorization: Bearer $REPLICATE_API_TOKEN" \
  -H "Content-Type: multipart/form-data" \
  -F "content=@data.zip;type=application/zip;filename=data.zip" | jq -r '.urls.get'
Step 5: Start the Training Process
With your training data uploaded, it’s time to start the training process via the API.
Key inputs for the training process include:
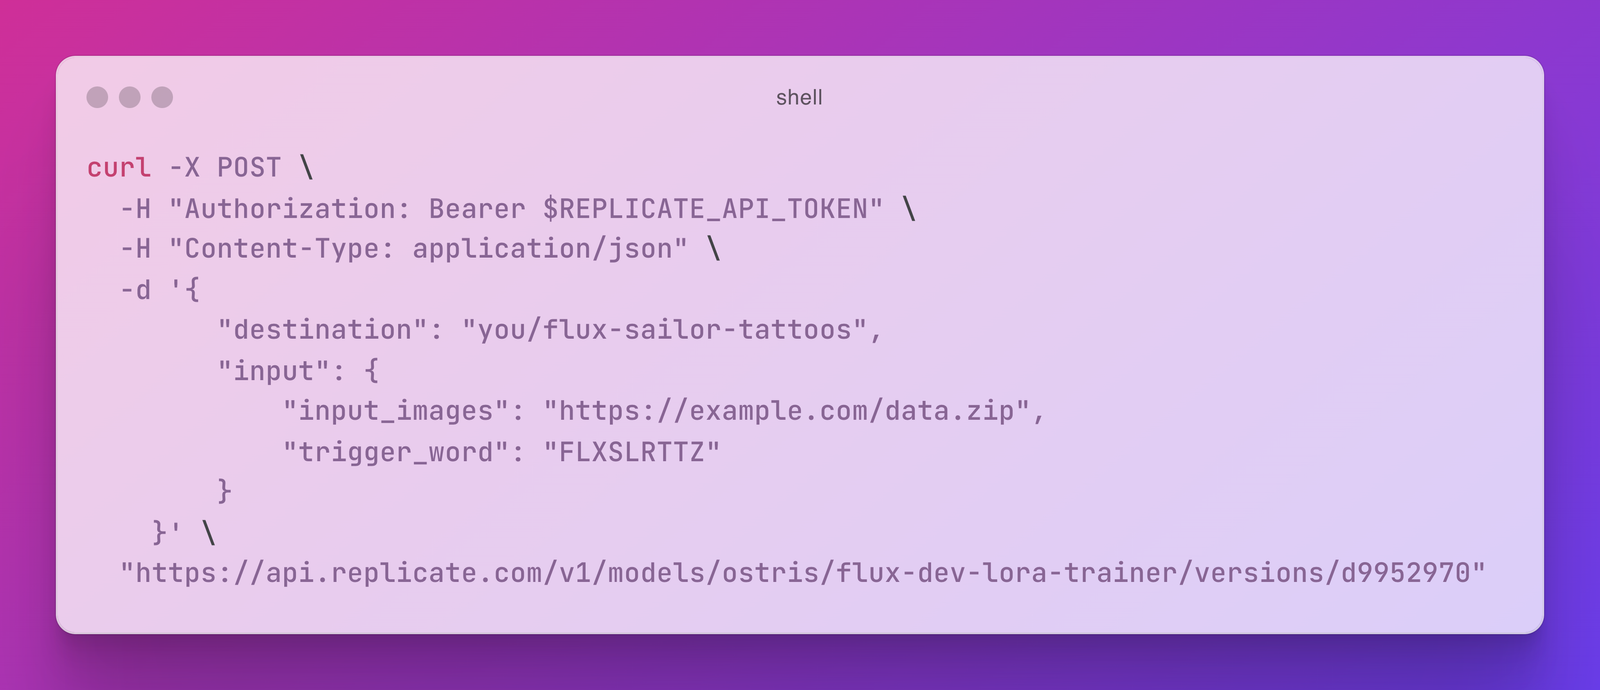
input_images: The URL of your training data zip filetrigger_word: A unique string of characters (e.g.,CYBRPNK3000) that is not a common word or phrase in any language
Run the following cURL command, replacing your-username, your-model-name, input_images, and trigger_word with your specific values:
curl -X POST \
  -H "Authorization: Bearer $REPLICATE_API_TOKEN" \
  -H "Content-Type: application/json" \
  -d '{
        "destination": "your-username/your-model-name",
        "input": {
            "input_images": "<your-training-data-url>",
            "trigger_word": "<some-unique-string>"
        }
    }' \
  https://api.replicate.com/v1/models/ostris/flux-dev-lora-trainer/versions/d995297071a44dcb72244e6c19462111649ec86a9646c32df56daa7f14801944/trainings
Step 6: Check the Status of Your Training
The training process typically takes a few minutes, depending on the number of images and steps involved. For example, using 10 images and 1,000 steps should take around 20 minutes. Use this time to take a short break.
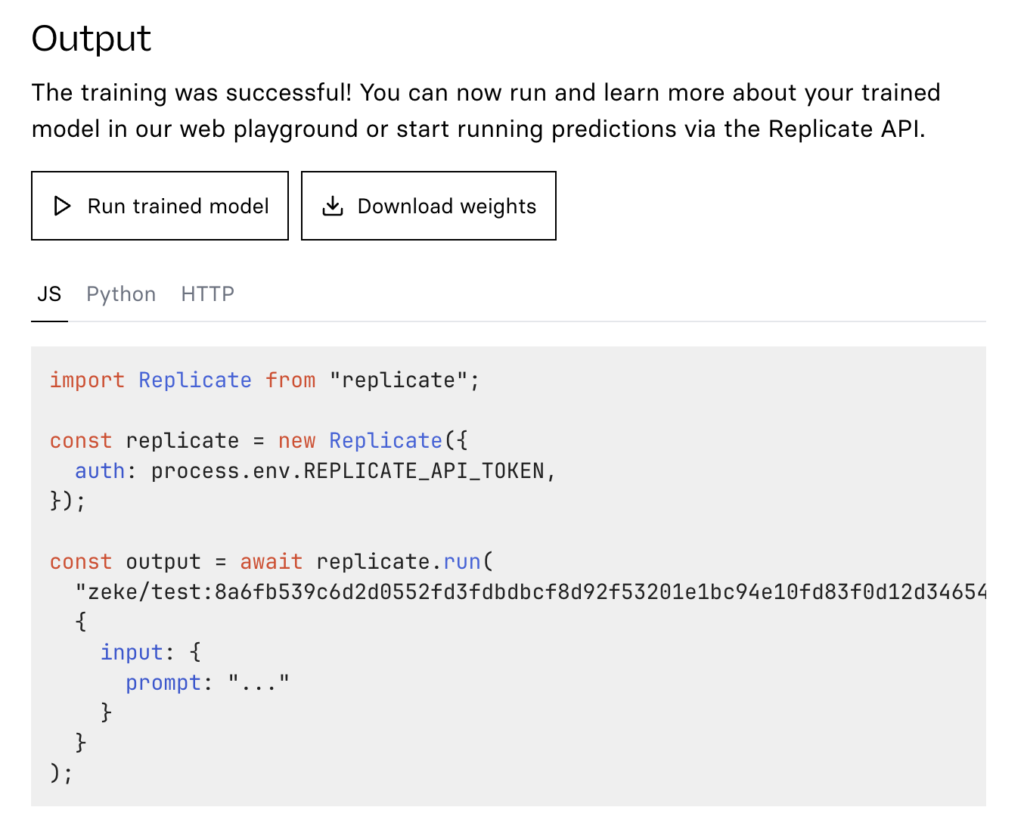
To check the status of your training, visit replicate.com/trainings. Once the training is complete, you’ll see a page with options to run the model on the web, along with code snippets for running the model via API in different programming languages.

Step 7: Generate Images on the Web
After completing the training process, your FLUX.2 model is ready to use. The simplest way to generate images is through the web interface.
To get started, you’ll need to input a prompt. You can leave other settings as default to begin with. FLUX.2 excels at handling detailed and descriptive prompts, so providing more context will improve the results.
Make sure to include your trigger_word in the prompt. This tells the model to focus on the concept you trained it on. For example, if you trained a model to create images in the style of a Minecraft movie with the trigger word MNCRFTMOV, you might use a prompt like, “a MNCRFTMOV film render of a blocky weird toad, Minecraft style.” Experiment with different prompts, but always remember to include your trigger word to activate the trained concept.
Step 8: Generate Images Using the API
While the web playground is a useful tool for experimenting with your new FLUX.2 model, generating images one at a time can become tedious. Fortunately, you can also use the API to integrate image generation into your own applications, allowing you to automate the process.
When accessing your model via the API, you’ll find code snippets for various programming languages such as Node.js and Python. These snippets demonstrate how to construct API calls that replicate the inputs you used in the browser interface. This enables you to generate images programmatically and seamlessly incorporate them into your projects.
Step 8: Generate Images Using the API
While the web playground is a great starting point, using the API allows you to automate image generation and integrate it into your own applications. Below is an abbreviated Node.js code snippet to help you get started with your FLUX.2 model (using the trigger word ZIKI):
import Replicate from "replicate";

const replicate = new Replicate();
const model = "zeke/ziki-flux:dadc276a9062240e68f110ca06521752f334777a94f031feb0ae78ae3edca58e";
const prompt = "ZIKI, an adult man, standing atop Mount Everest at dawn...";
const output = await replicate.run(model, { input: { prompt } });
console.log(output);
Step 9: Use a Language Model to Write Better Prompts
Crafting effective prompts can be challenging. A simple prompt like “ZIKI wearing a turtleneck holiday sweater” may not yield the most interesting results. To generate more compelling prompts, use a language model. Here’s a sample prompt to inspire creative ideas:
Write ten prompts for an image generation model. The prompts should describe a fictitious person named ZIKI in various scenarios. Make sure to use the word ZIKI in all caps in every prompt. Make the prompts highly detailed and interesting, with varied subject matter. Ensure the prompts generate images with clear facial details. ZIKI is a 43-year-old male; include this in the prompts but avoid mentioning his eye color.Sample generated prompts might include:
- Close-up of ZIKI, a male street artist in his 40s, spray-painting a vibrant mural on a city wall. His face shows intense concentration, with flecks of paint on his cheeks and forehead. He wears a respirator mask around his neck and a beanie on his head. The partially completed mural is visible behind him.
- ZIKI, a dapper gentleman spy in his 40s, engaged in a high-stakes poker game in a luxurious Monte Carlo casino. His face betrays no emotion as he studies his cards, one eyebrow slightly raised. He wears a tailored tuxedo and a bow tie, with a martini glass on the table in front of him.
- ZIKI, a distinguished-looking gentleman in his 40s, conducting a symphony orchestra. His expressive face shows intense concentration as he gestures dramatically with a baton. He wears a crisp tuxedo, and his salt-and-pepper hair is slightly disheveled from his passionate movements.
To create your own prompts, try using Meta Llama 3.1 405b, a fast and powerful language model available on Replicate:
import Replicate from "replicate";

const replicate = new Replicate();
const model = "meta/meta-llama-3.1-405b-instruct";
const prompt = "Write ten prompts for an image generation model...";
const output = await replicate.run(model, { input: { prompt } });
console.log(output);
Step 10: Train Again if Needed
If your initial fine-tuned model isn’t meeting expectations, you can refine it by increasing the number of training steps, using higher quality or additional images. You don’t need to create a new model each time; simply use your existing model as the destination for new training iterations, which will update it as a new version.
Step 11: Have Fun
For inspiration, explore the collection of FLUX fine-tunes on Replicate to see the creative ways others are using the model. This can spark ideas for your own projects and help you get the most out of your fine-tuned model. Enjoy experimenting and discovering new possibilities with FLUX.2!
